Stay up to date with our latest news and insights
Supporting description on the types of content that feature in the blog.

Written by Laura Olley, Head of Service (Based on guidance from Xerox)
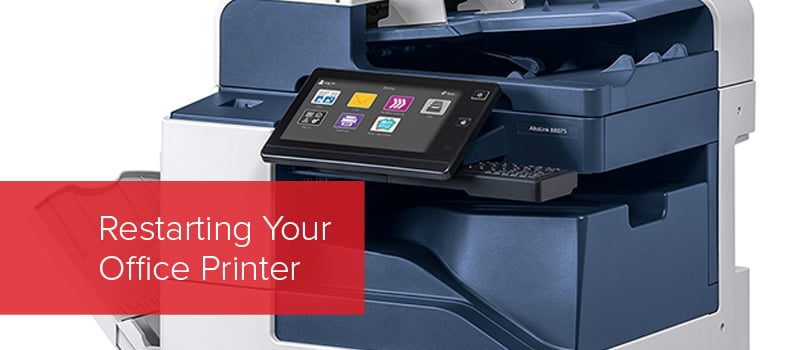
Your Xerox devices are very resilient, and should work fine when you’re back in the office. However, when a printer has been left idle for an extended period of time there is a possibility that problems may occur depending on the length of idle time, and environmental factors, such as temperature and humidity. To avoid this you can find instructions for your specific device as follows:

However, as a sample guideline, the process is as follows:
Power On the Printer:
If the printer has been powered Off, power it On:
If the printer does not power On:
If the Fault Code 303.355.00 occurs, the software has detected a CCM Post failure during the NVM integrity test, contact support for additional assistance.
An NVM battery failure can cause issues listed below. If one of these issues occur contact support for additional assistance:
Make sure the paper in each paper tray is in good condition:
Jams and Image Quality issues can be caused from poor paper condition.
Note: The reasons for running multiple prints:
Print or scan documents using the Document Handler to confirm proper operation:
Supporting description on the types of content that feature in the blog.

20-09-2024
Digital document management tools offer a range of compelling benefits for businesses, including a PDF editor, a file converter and a form generator. You can also integrate with digital signatures qui...

20-09-2024
When choosing a SaaS software to deal with your company’s PDF documents and enable forms to be digitally sent and signed, you’ll want a product that’s user-friendly and easy to use. With Tungsten’s Po...

11-07-2024
Belkin is a global technology company that provides high-quality electronics products, from wireless chargers to power banks. Their people-centric approach and best-in-class functionality have positio...